DIY Masonry-Style Image Gallery
This post will walk you through how to build interactive, progressively-loading, Google Photos-style image galleries like the ones in my Pictures collection.
Why do this?
- You want a beautiful image gallery with plain Javascript, HTML, and CSS (no framework, CMS, or package management required).
- You love the Google Photos-style automatic layout and fast, progressive loading.
- Image gallery plugins for Wordpress and other platforms come with extra overhead: they do too many things you don’t need, and they don’t do enough of what you want.
- You want maximum control and automation.
Overview
- 1.
Basic PIG. Progressive Image Grid (PIG.js) is the JavaScript library that will power our image gallery. We’ll get a test page up and running with out-of-the-box PIG.
- 2.
Extending PIG. PIG needs a few tweaks to reach its full potential. We’ll make a few quick adaptations, including adding Swipebox support.
- 3.
Automation. While the PIG library is handy, it doesn’t do the heavy lifting of generating all those image thumbnails and directory structures we need. As with all problems in the universe, the solution is a script to automate things. I provide Ruby and Perl versions.
- 4.
WordPress Integration (optional). The above steps are sufficient to facilitate the creation of image galleries with minimal effort. You can stop there if you want to, or optionally add some code to WordPress to simplify adding PIG-powered galleries. This step will not require any plugin installation. Instead, we’ll build a lightweight custom plugin from scratch so you have complete visibility and control over what is going on.
Basic PIG
Dan Schlosser’s Progressive Image Grid (PIG.js) is a responsive and lightweight JavaScript library that progressively and elegantly loads images as you scroll. It looks similar to the Google Photos album layout, which is the look I was interested in for my photo galleries. To get started, let’s see a test project using pure standard PIG without any modifications.
Click on the source code link at the top and clone the Github project, or just download the files for example-project-1. You should be able to open index.html locally in your browser and see a gallery with four images:
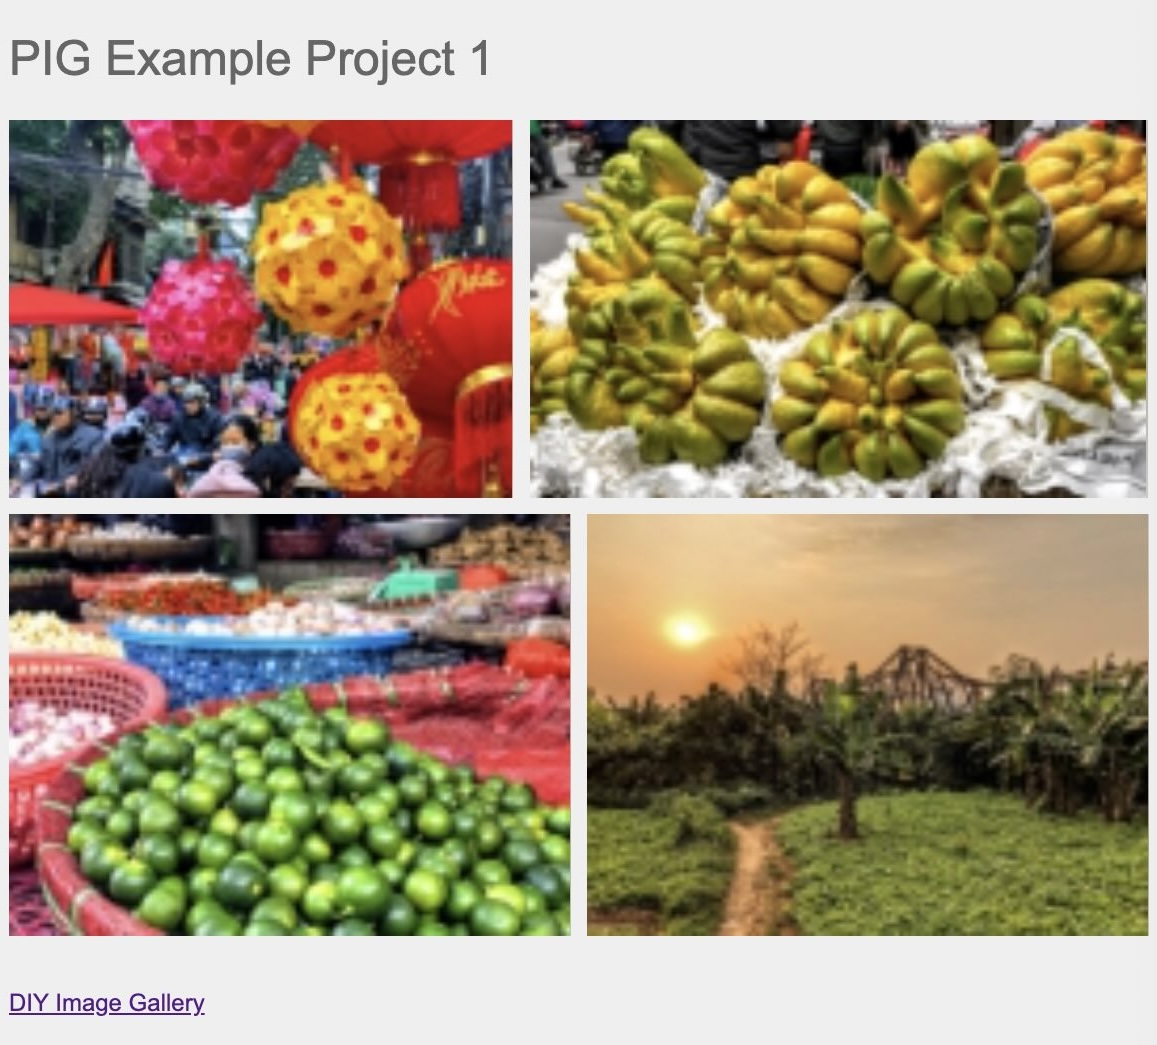
Easy, right? But wait …
These images aren’t clickable! PIG doesn’t have support for image modals or linking.
Also, there are a lot of extra images! While there are only four images on the page, each full-size image requires four additional thumbnails in the /img directory — that’s 16 additional images I had to create for this page.
├── img
│   ├── 20
│   |   ├── vn.jpg
│   |   ├── vn2.jpg
│   |   ...
│   |
│   ├── 100
│   |   ├── vn.jpg
│   |   ├── vn2.jpg
│   |   ...
│   |
│   ├── 250
│   |   ├── vn.jpg
│   |   ├── vn2.jpg
│   |   ...
│   |
│   └── 500
│       ├── vn.jpg
│       ├── vn2.jpg
│       ...
...
There is math happening in here! The JavaScript contains an aspect ratio for each image in order for PIG to work its magic. So, on top of creating 16 images, I had to divide height and width to get ratios.
var imageData = [
  {"filename": "vn.jpg", "aspectRatio": "1.3300"},    // 1.3300: that requires math!
  {"filename": "vn2.jpg", "aspectRatio": "1.6300"},
  {"filename": "vn3.jpg", "aspectRatio": "1.3300"},
  {"filename": "vn4.jpg", "aspectRatio": "1.3300"},
];
Obviously, Dan has created a great tool for us to get started, but it doesn’t yet do the dishes or double on sax for us, so in the next steps we’ll fix it up and automate like crazy.
Extending PIG
Let’s move on to Example Project 2. Copy the files as before and open index.html.
Well that’s underwheming: the images look exactly the same!
But a few things changed under the hood. First, images are clickable now. How’d we accomplish that? Cheating, of course: our friend Mark Rodgers has modified PIG to support the Swipebox library. Now images are clickable and open in fancy modals. Go ahead, click on them!
Let’s see what changed in the index.html source. First, we’ve added the Swipebox libraries, and we’ve modified the source for pig.js:
<script src="https://code.jquery.com/jquery-2.0.3.min.js"></script>
<script src=".../jquery.swipebox/1.4.4/js/jquery.swipebox.min.js"></script>
<script type="text/javascript" src="https://i.modjeska.us/js/pig.js"></script>
In this case, we’re using my version of pig.js as the source. It’s identical to Mark’s, except with a minor change to improve compatibility with WordPress (more on that later). This is the version we’ll be using for the remainder of the process. What else changed?
We also have some anchor text directives in the JavaScript.
addAnchorTag: true,
anchorTargetDir: "",
anchorClass: "swipebox"
}).enable();
  ;( function( $ ) {
    $( '.swipebox' ).swipebox();
} )( jQuery );
So this gallery does what we want it to now! Let’s move on to automating things.
Automation
Now for the fun part: making a robot do all the math, image resizing, and directory setup so we don’t have to. Let’s even have it output a ready-to-use HTML file. This section assumes a basic understanding of running scripts, and a Mac or Unix/Linux system. This probably won’t work on Windows.
We’ll work with Example Project 3, which right now is just four images. Using pigg.pl (Perl) or pigg.rb (Ruby), we’ll transform those four images into a gallery without any math or manual file creation. This automation script is the reason you’re here, and the first step in this process featuring any work I’ve actually done myself and not just copied from others. Let’s walk through configuration and setup.
Automation with Perl
Install Perl dependencies
If using the Perl script, and assuming you have CPAN setup locally or on the server where you’ll run this script, install these libraries:
cpan Image::Size
cpan Image::Scale
If you get an error regarding libpng and/or ligjpeg, you may need to install those explicitly:
# CentOS / Amazon Linux
sudo yum install libpng-devel
sudo yum install libjpeg-devel

# Ubuntu
apt-get install libjpeg-dev
apt-get install libpng-dev

# Mac
brew install libjpeg
brew install libpng
Open pigg.pl for configuration
Decide where to serve pig.js from. It’s fine to serve my version from Github, but safer to upload it to your own server in case I change/break it in the future.
# Path to where pig.js is located on the internet
# You can use my version on Github, or upload and serve your own
# on your website (I recommend the second thing, in case I change
# or break my version in the future!)
our $pig = 'https://yourserver.com/css/pig.js';
Where will images live on your server?
# Base URI to where the images will live
# Do not use WordPress's media uploader; upload the finished product
# directly to your server
our $uri = 'https://yoursite.com/galleries/';
Do you want to automatically generate an index.html file when you create a gallery? Start with ‘yes’ for this tutorial. If you decide to use this script with WordPress, you’ll want to turn this off.
# Do you want to generate an index.html file when you create a gallery?
our $flag_html = 'yes';
Save pigg.pl and test drive it
Be sure to use the full path to where you’ve saved Example Project 3.
[jm@local /]$ cd /path/to/pigg/util/
[jm@local util]$ perl pigg.pl /path/to/pigg/example-project-3/
You should see output like this:
Automation with Ruby
Install ImageMagick
Follow the installation instructions on the ImageMagick project website to install ImageMagick, a multipurpose image manipulation library. On MacOS:
brew install imagemagick
Install the mini_magick and rspec gems
Once you have ImageMagick successfully installed, get the mini_magick gem and rspec:
gem install mini_magick
gem install rspec
Run tests
cd /path/to/pigg/ruby
rspec
You should see something like this to indicate the tests all passed:
..............

Finished in 0.29299 seconds (files took 0.07217 seconds to load)
14 examples, 0 failures
Test it out
cd /path/to/pigg/ruby
ruby pigg.rb /path/to/pigg/example-project-3/
You should see some output similar to this:
-=> Checking source directory: /path/to/test_dir ... OK
-=> Creating img directory at /path/to/test_dir/img ... OK
-=> Setting up new gallery structure at /path/to/test_dir/img ... OK
-=> Generating images ...
    ✔ /path/to/test_dir/img/20/cambodia-kampong-thom-9.jpeg
    ✔ /path/to/test_dir/img/100/cambodia-kampong-thom-9.jpeg
    ✔ /path/to/test_dir/img/250/cambodia-kampong-thom-9.jpeg
    ✔ /path/to/test_dir/img/500/cambodia-kampong-thom-9.jpeg
    ✔ /path/to/test_dir/img/20/cambodia-angkor-wat-6.jpeg
    ✔ /path/to/test_dir/img/100/cambodia-angkor-wat-6.jpeg
    ✔ /path/to/test_dir/img/250/cambodia-angkor-wat-6.jpeg
    ✔ /path/to/test_dir/img/500/cambodia-angkor-wat-6.jpeg
    ✔ /path/to/test_dir/img/20/vietnam-can-tho-to-chau-doc-4.jpeg
    ✔ /path/to/test_dir/img/100/vietnam-can-tho-to-chau-doc-4.jpeg
    ✔ /path/to/test_dir/img/250/vietnam-can-tho-to-chau-doc-4.jpeg
    ✔ /path/to/test_dir/img/500/vietnam-can-tho-to-chau-doc-4.jpeg
-=> Generating image manifest for use as a JS var ... OK

    var imageData = [
      {"filename"=>"cambodia-kampong-thom-9.jpeg", "aspectRatio"=>"1.2800"},
      {"filename"=>"cambodia-angkor-wat-6.jpeg", "aspectRatio"=>"1.3300"},
      {"filename"=>"vietnam-can-tho-to-chau-doc-4.jpeg", "aspectRatio"=>"1.3300"},
    ]
WordPress
-=> Checking source directory ...                           [ OK ]
-=> Setting up new gallery structure ...                    [ OK ]
-=> Generating new images ...
    ✔ 20/vn.jpg
    ✔ 100/vn.jpg
    ✔ 250/vn.jpg
    ✔ 500/vn.jpg
    ✔ 20/vn4.jpg
    ✔ 100/vn4.jpg
    ✔ 250/vn4.jpg
    ✔ 500/vn4.jpg
    ✔ 20/vn3.jpg
    ✔ 100/vn3.jpg
    ✔ 250/vn3.jpg
    ✔ 500/vn3.jpg
    ✔ 20/vn2.jpg
    ✔ 100/vn2.jpg
    ✔ 250/vn2.jpg
    ✔ 500/vn2.jpg
                                                            [ OK ]
-=> Creating image manifest ...                             [ OK ]
-=> Writing index.html file ...                             [ OK ]

Done!

----------------------------------------------------------------
Upload example-project-3 to https://yoursite.com/galleries/example-project-3
You now have a full gallery project ready to use. You can browse to galleries/example-project-3 to view your new gallery!
You don’t want to upload a plain HTML file to serve your gallery on WordPress, so let’s turn now to pigg.php, a WordPress plugin file.
First, a note about image storage
I don’t like how WordPress organizes image uploads, so I’m storing my gallery data directly on my server. Instead of this garbage that has a bunch of extra files I’ll never use:
├── /uploads/
  ├── 2018/
    ├── 04/
    ├── image1-1024x912.jpg
    ├── image1-300x267.jpg-
    ├── image1-768x684.jpg
    ├── image1-150x150.jpg
    ├── image1-600x450.jpg
    ├── image1.jpg
    ├── . . .
How about this instead?
├── /galleries/
  ├── china-2014/
    ├── image1.jpg
    ├── image2.jpg
    ├── . . .
Better, right? OK, now let’s configure a WordPress plugin that will be compatible with this straightforward image hierarchy.
Shortcode summary. The plugin — which we’re going to add manually because it’s fun and gives you full control over everything that’s happening — will let you create a gallery with this shortcode:
[pig gallery="gallery-name" images="image1.jpg/1.33,image2.jpg/1.24 . . ."]
Configure pigg.php
Once again, we need to tell the robot where pig.js is, and where images will live on the server:
# Line 27:
<script src="https://raw.githubusercontent.com/jmodjeska/pigg/master/js/pig.js"></script>

# Line 52:
$gallery = 'https://yourserver.com/galleries/' . $gallery;
Save the file. You’re ready to install it on your server now.
Manual plugin installation
Locate your WordPress plugins folder on your web server or using your FTP client. It should be in wp-content:
[jm@remote-webserver wp-content]$ ls
index.php  plugins  themes  upgrade  uploads
Create a new directory inside plugins called pigg:
[jm@remote-webserver wp-content]$ cd plugins
[jm@remote-webserver plugins]$ mkdir pigg
Place pigg.php in the new directory
Use FTP or, if you’re logged in to your server:
[jm@remote-webserver plugins]$ cd pigg
[jm@remote-webserver plugins]$ wget https://raw.githubusercontent.com/jmodjeska/pigg/main/wordpress/plugins/pigg/pigg.php
Verify the plugin is installed
Navigate to your WordPress dashboard > Plugins:

Update pigg.pl configuration. Back on your local machine, let’s change some config values in the Perl script to tell it we’re using WordPress now.
# Do you want to generate an index.html file when you create a gallery?
our $flag_html = 'no';

# Do you want to output a WordPress shortcode when you create a gallery?
our $flag_wordpress = 'yes';
Clean the project folder
Delete everything inside the example-project-3 folder except for the four images.
[jm@local /]$ cd /path/to/pigg/example-project-3/
[jm@local example-project-3]$ rm -rf img
[jm@local example-project-3]$ rm index.html
[jm@local example-project-3]$ ls
vn.jpg	vn2.jpg	vn3.jpg	vn4.jpg
Re-run pigg.pl with the new configuration
Same command as before:
[jm@local /]$ cd /path/to/pigg/util/
[jm@local util]$ perl pigg.pl /path/to/pigg/example-project-3/
Now examine the bottom of the command output. We generated our image tree again, but now instead of an HTML file, we have a WordPress shortcode:
. . .
Done!

----------------------------------------------------------------
Upload example-project-3 to https://yoursite.com/galleries/example-project-3

WordPress shortcode for this gallery:

[pig gallery="example-project-3" images="vn.jpg/1.3300,vn4.jpg/1.3300,vn2.jpg/1.6300,vn3.jpg/1.3300"]
Upload your files and use the shortcode in a post
Place the whole directory, example-project-3, on your server where designated. Then, create a new WordPress post and include the shortcode provided. You should now have a fully-functional gallery on WordPress.